

In this article, I'm gonna show you how can we launch a Kubernetes multi-node cluster on Amazon Web Hosting Services by using Ansible .
First of all, we will launch 3 instances in the AWS (2-slaves and 1-master) and then we will configure Kubernetes in them. There are a lot of steps so I will create separate Ansible-Roles for configuring Kubernetes and launching instances.
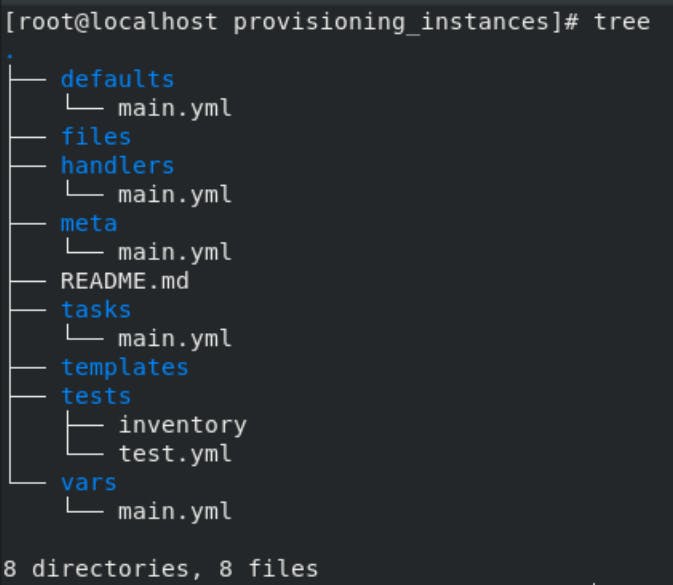
Role for provisioning AWS instances:-
So, here I have created a role for launching instances in the AWS. It will launch one Master node and two Slave nodes on AWS.
main.yml (tasks directory):-
---
# tasks file for provisioning_instances
- name: Create security group
  ec2_group:
          name: "multi-node-cluster"
          description: "Security group for k8s multinode cluster"
          region: ap-south-1
          vpc_id: vpc-ee967485
          aws_access_key: "{{ access_key }}"
          aws_secret_key: "{{ secret_key }}"
          rules:
                  - proto: all
                    cidr_ip: 0.0.0.0/0
  register: result_sec_group

- name: Launching Slave-1
  ec2_instance:
          aws_access_key: "{{ access_key }}"
          aws_secret_key: "{{ secret_key }}"
          region: "ap-south-1"
          name: "slave1"
          tags:
                  group: slave1
          instance_type: "t2.micro"
          wait: yes
          wait_timeout: 20
          key_name: arth-hadoop-master
          image_id: ami-08e0ca9924195beba
          security_group: "{{ result_sec_group.group_id }}"
          state: present
          vpc_subnet_id: subnet-76a4dd3a
  register: slave1

- name: Launching Slave-2
  ec2_instance:
          aws_access_key: "{{ access_key }}"
          aws_secret_key: "{{ secret_key }}"
          region: "ap-south-1"
          name: "slave2"
          tags:
                  group: slave2
          instance_type: "t2.micro"
          wait: yes
          wait_timeout: 20
          key_name: arth-hadoop-master
          image_id: ami-08e0ca9924195beba
          security_group: "{{ result_sec_group.group_id }}"
          state: present
          vpc_subnet_id: subnet-76a4dd3a
  register: slave2

- name: Launching Master
  ec2_instance:
          aws_access_key: "{{ access_key }}"
          aws_secret_key: "{{ secret_key }}"
          region: "ap-south-1"
          name: "master"
          tags:
                  group: master
          instance_type: "t2.micro"
          wait: yes
          wait_timeout: 20
          key_name: arth-hadoop-master
          image_id: ami-08e0ca9924195beba
          security_group: "{{ result_sec_group.group_id }}"
          state: present
          vpc_subnet_id: subnet-76a4dd3a
  register: master

- name: Adding hosts to inventory with pem path
  blockinfile:
          dest: "{{ inv_path }}"
          marker: ""
          create: yes
          block: |
                           [master]
                           {{ master.instances[0].public_ip_address }} ansible_user=ec2-user ansible_ssh_private_key_file="{{ key_path }}" ansible_connection=ssh
                           [slaves]
                           {{ slave1.instances[0].public_ip_address }} ansible_user=ec2-user ansible_ssh_private_key_file="{{ key_path }}" ansible_connection=ssh
                           {{ slave2.instances[0].public_ip_address }} ansible_user=ec2-user ansible_ssh_private_key_file="{{ key_path }}" ansible_connection=ssh

- name: Refreshing Inventory
  meta: refresh_inventory

- name: Please wait for the instances
  pause:
    minutes: 1
For AWS secret key and access key I'm using the Ansible Vault you can check out how to encrypt data in Ansible Vault here. Whereas the rest of the variables are in main.yml in vars directory.
main.yml (vars directory):-
key_path: "/root/Aws/master.pem"
inv_path: "/root/Extra/ip.txt"
Here you can change the key path (here I'm using already created key) and ansible inventory path where it will store the IP address of the newly launched instances.
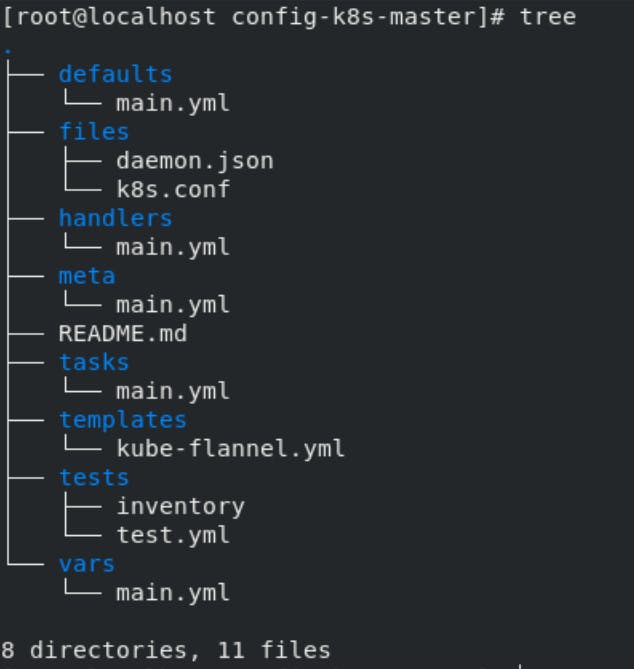
Role for configuring Master node:-
This role will configure the kubeadm in newly created instance:
main.yml (tasks.yml):-
---
# tasks file for config-k8s-master
- name: "Creating Kubernetes repo"
  yum_repository:
          name: "kube"
          description: "kubernetes repository"
          baseurl: "https://packages.cloud.google.com/yum/repos/kubernetes-el7-x86_64"
          enabled: 1
          gpgcheck: 1
          repo_gpgcheck: 1
          gpgkey: "https://packages.cloud.google.com/yum/doc/yum-key.gpg https://packages.cloud.google.com/yum/doc/rpm-package-key.gpg"


- name: "Downloading Kubeadm"
  package:
          name: "kubeadm"
          state: present

- name: "Starting Kubelet"
  service:
          name: "kubelet"
          state: started

- name: "Downloading Docker"
  package:
          name: "docker"
          state: present

- name: "Starting Docker"
  service:
          name: "docker"
          state: started

- name: "Copying drivers file"
  copy:
          src: daemon.json
          dest: /etc/docker/daemon.json

- name: "Restarting Docker"
  service:
          name: "docker"
          state: restarted

- name: "Downloading IProute-tc"
  package:
          name: "iproute-tc"
          state: present

- name: "Uploading IProute file"
  copy:
          src: k8s.conf
          dest: /etc/sysctl.d/k8s.conf

- name: "Starting service"
  shell: "sysctl --system"

- name: "Initializing Kubeadm"
  shell: "kubeadm init --pod-network-cidr={{ ip_range }} --ignore-preflight-errors=NumCPU --ignore-preflight-errors=Mem"

- name: "Setting it as master node-1"
  file:
           path: "/root/.kube"
           state: directory

- name: "Setting it as master node-2"
  copy:
           src: "/etc/kubernetes/admin.conf"
           dest: "/root/.kube/config"
           remote_src: yes
           owner: root

- name: "Configuring kube-flannel"
  template:
           src: kube-flannel.yml
           dest: /root/

- name: "Running kube-flannel"
  shell: "kubectl apply -f /root/kube-flannel.yml"
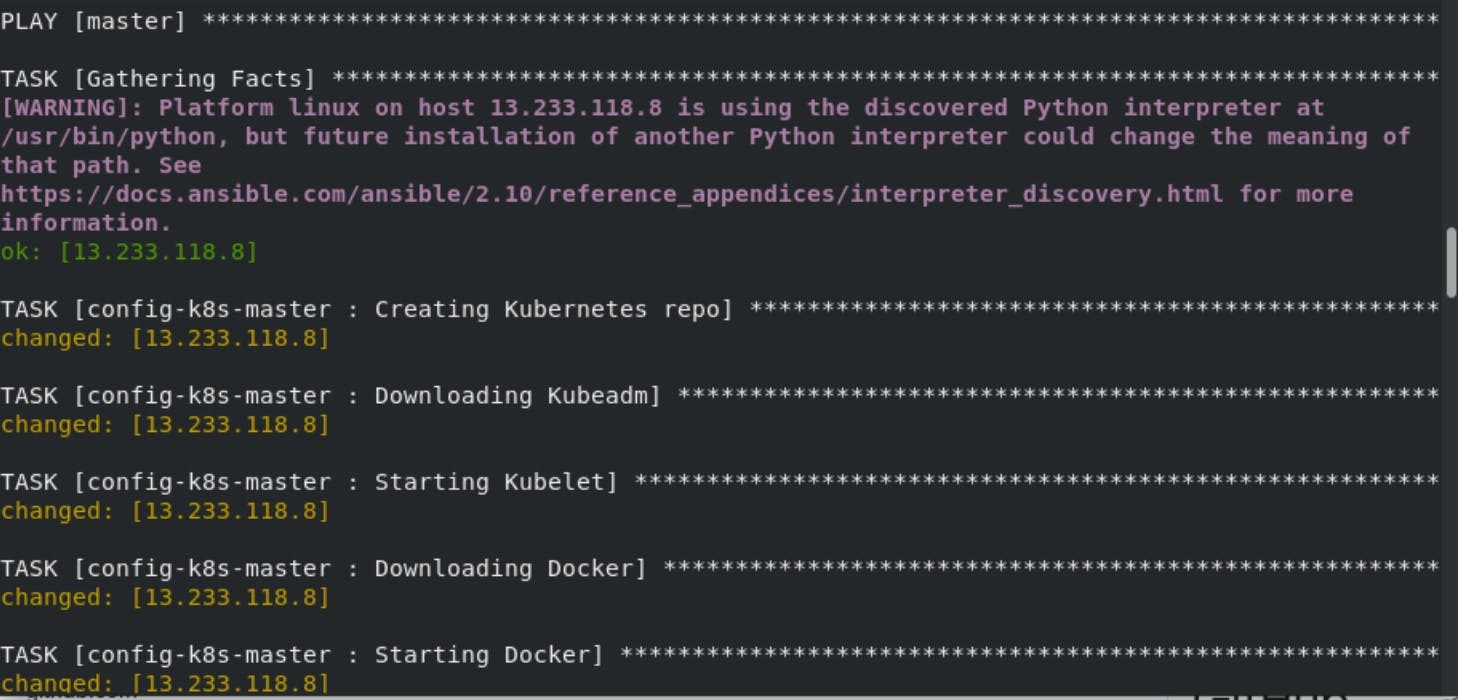
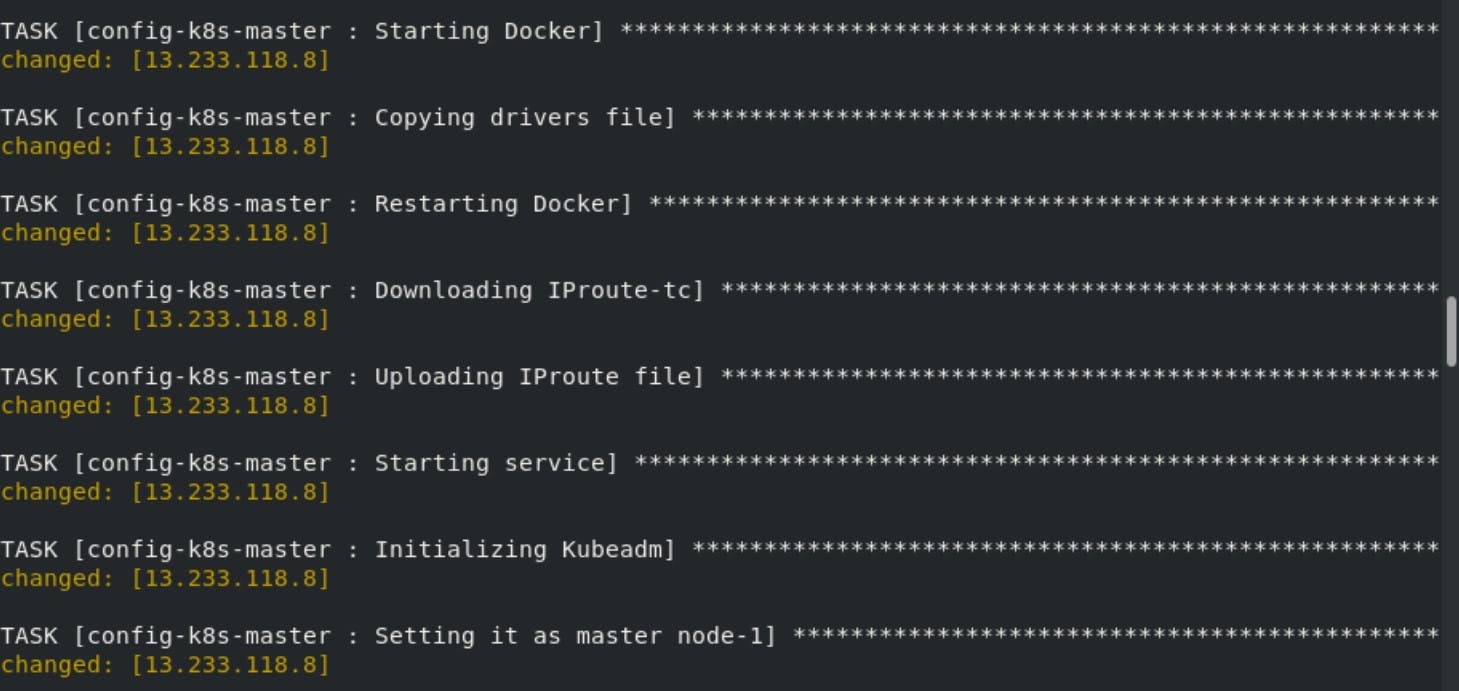
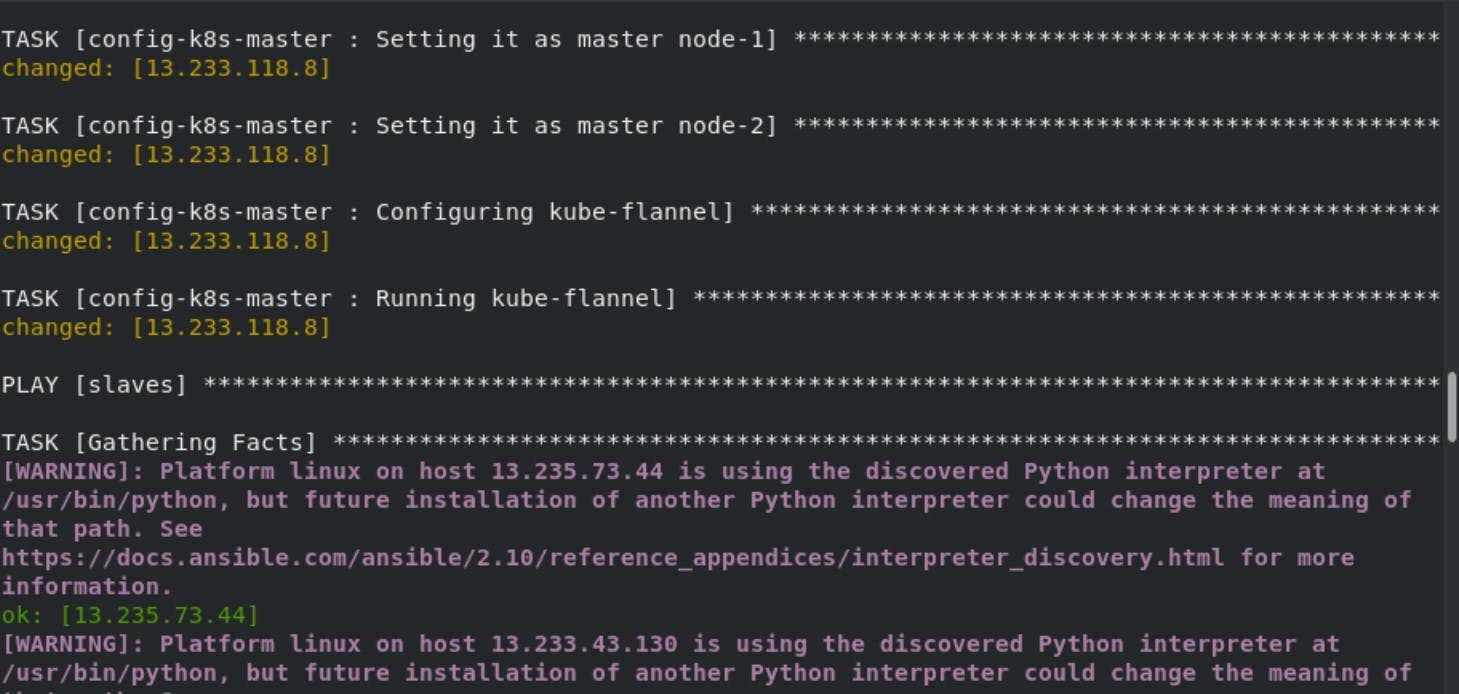
This play will first setup the Kubernetes repo and then download and configure kubeadm , in the master node we have to initialize the kubeadm with the specific IP range. This IP range is given in the main.yml in vars directory. There are 2 more files daemon.json and k8s.conf you will find it in the GitHub repo link in the end.
main.yml (vars directory):-
ip_range: "10.240.0.0/16"
You can change the IP range in this file.
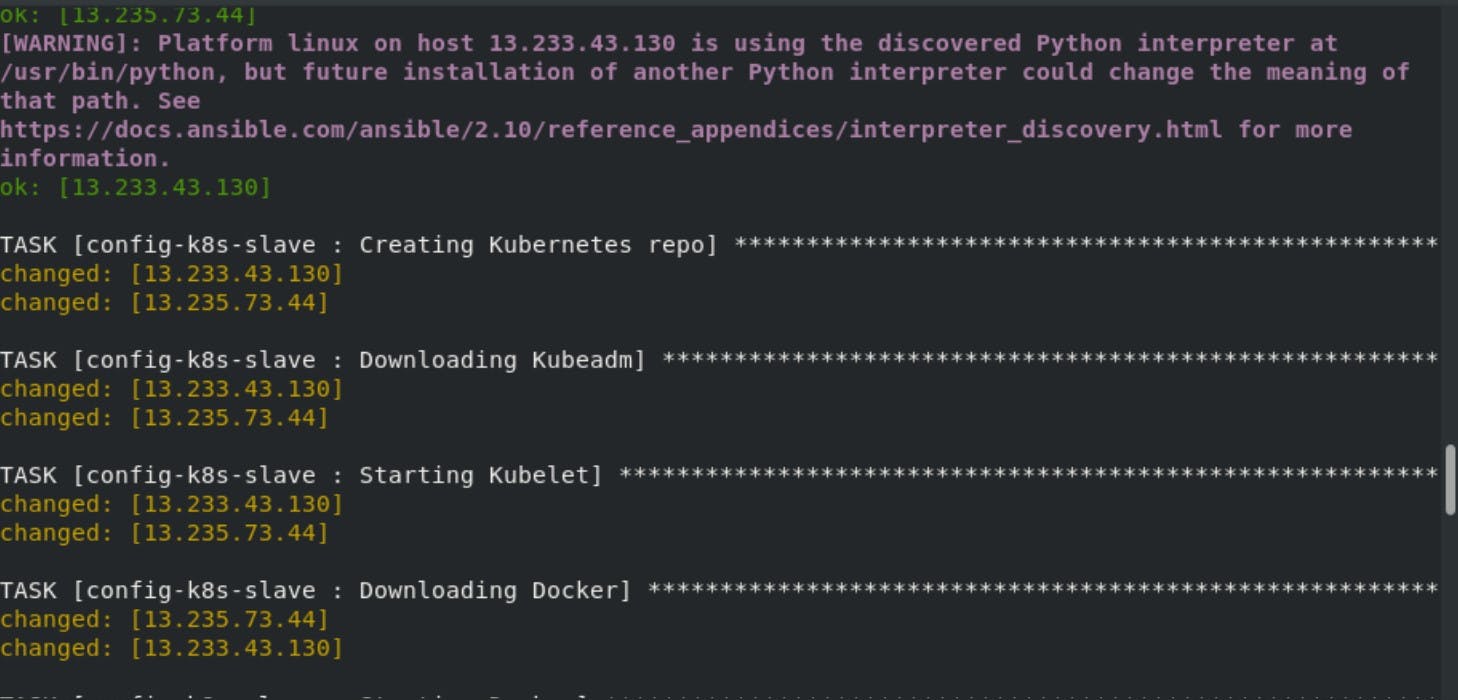
Role for configuring Slave node:-
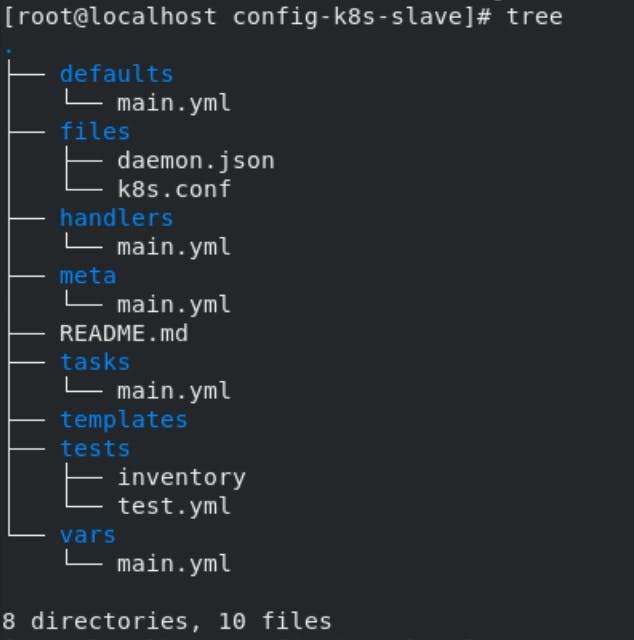 This play will configure the two slave nodes. The procedure is almost the same as the master node
the difference is that we don't initialize kubeadm in this.
This play will configure the two slave nodes. The procedure is almost the same as the master node
the difference is that we don't initialize kubeadm in this.
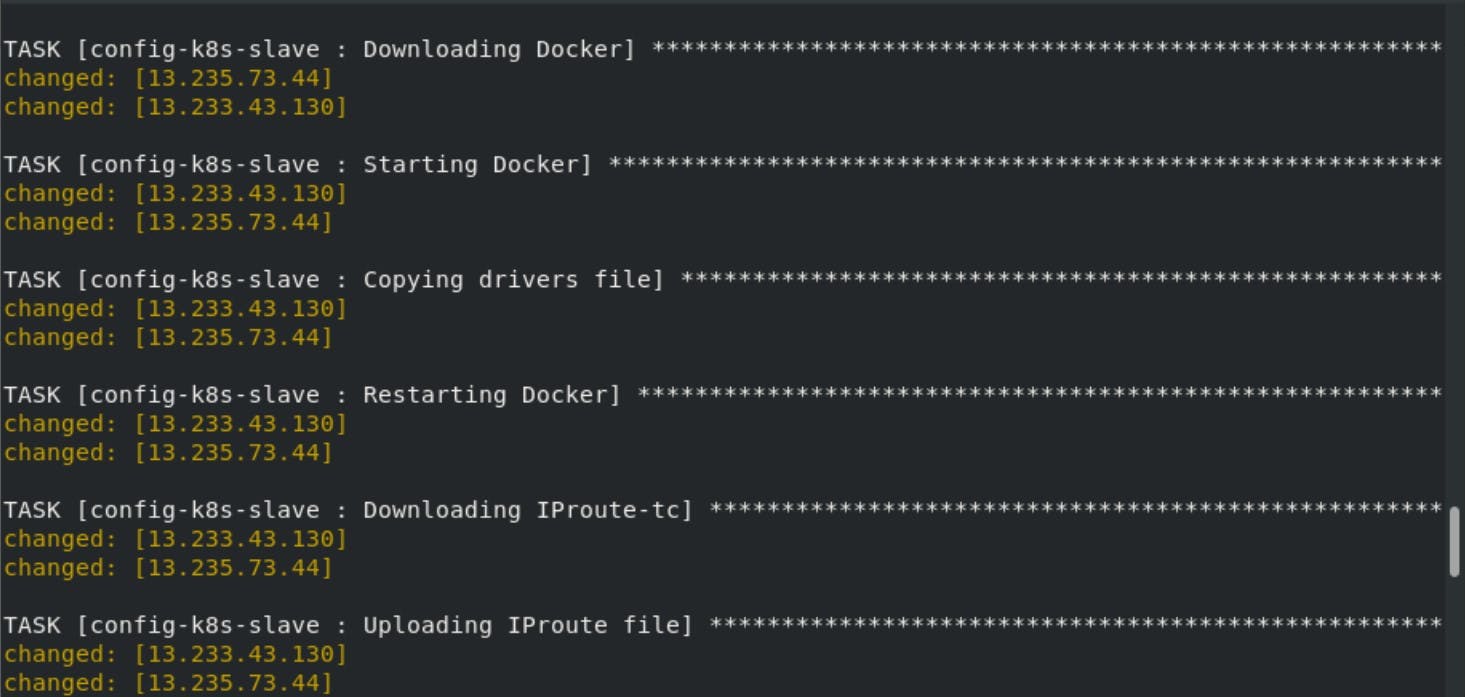
main.yml (tasks directory):-
---
# tasks file for config-k8s-slave
- name: "Creating Kubernetes repo"
  yum_repository:
          name: "kube"
          description: "kubernetes repository"
          baseurl: "https://packages.cloud.google.com/yum/repos/kubernetes-el7-x86_64"
          enabled: 1
          gpgcheck: 1
          repo_gpgcheck: 1
          gpgkey: "https://packages.cloud.google.com/yum/doc/yum-key.gpg https://packages.cloud.google.com/yum/doc/rpm-package-key.gpg"


- name: "Downloading Kubeadm"
  package:
          name: "kubeadm"
          state: present

- name: "Starting Kubelet"
  service:
          name: "kubelet"
          state: started

- name: "Downloading Docker"
  package:
          name: "docker"
          state: present

- name: "Starting Docker"
  service:
          name: "docker"
          state: started

- name: "Copying drivers file"
  copy:
          src: daemon.json
          dest: /etc/docker/daemon.json

- name: "Restarting Docker"
  service:
          name: "docker"
          state: restarted

- name: "Downloading IProute-tc"
  package:
          name: "iproute-tc"
          state: present

- name: "Uploading IProute file"
  copy:
          src: k8s.conf
          dest: /etc/sysctl.d/k8s.conf

- name: "Starting service"
  shell: "sysctl --system"
Collect all files in a separate workspace:-

cluster.yml:-
- hosts: localhost
vars_files:
- pass.yml
roles:
- role: provisioning_instances
- hosts: master
roles:
- role: config-k8s-master
- hosts: slaves
roles:
- role: config-k8s-slave
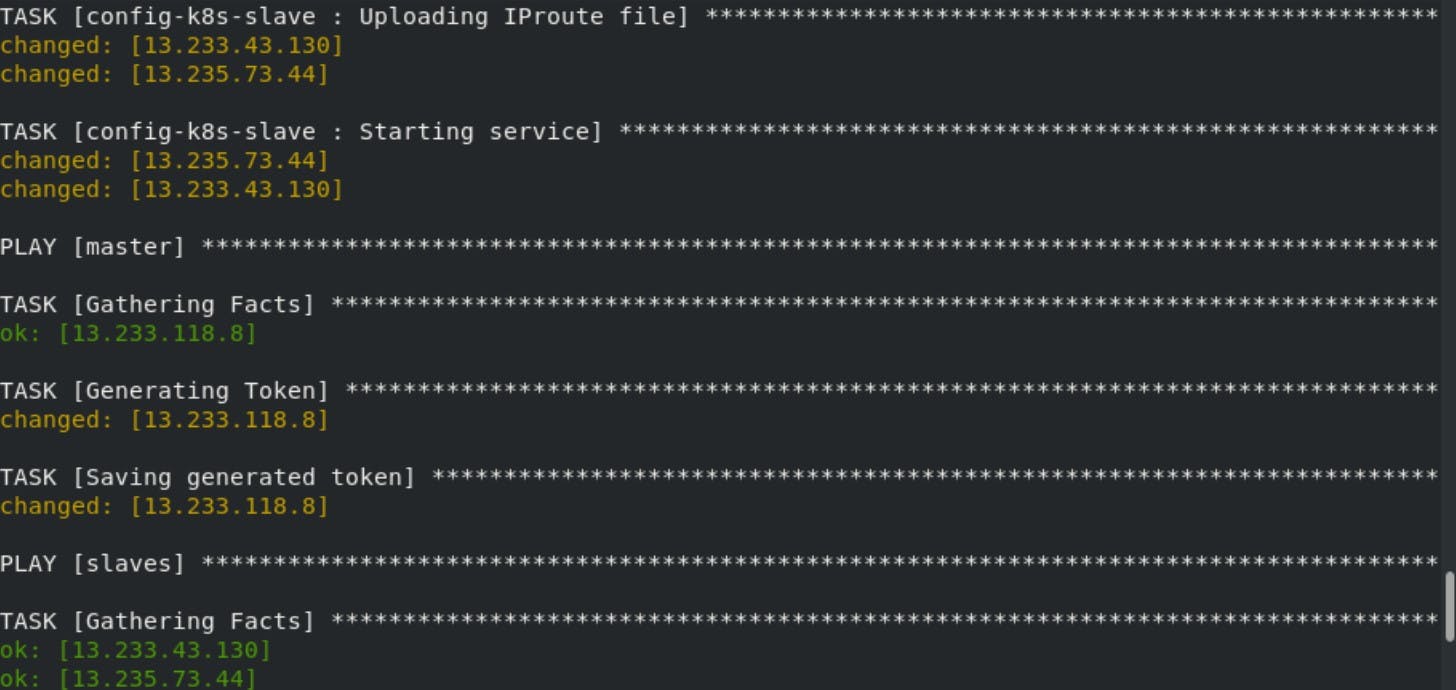
- hosts: master
tasks:
- name: Generating Token
shell: "kubeadm token create --print-join-command"
register: x
- name: Saving generated token
add_host:
name: "token"
This is the main file it will first launch the instances in the AWS, configure those nodes and at last it will generate the token from the master node and paste in the slave nodes .
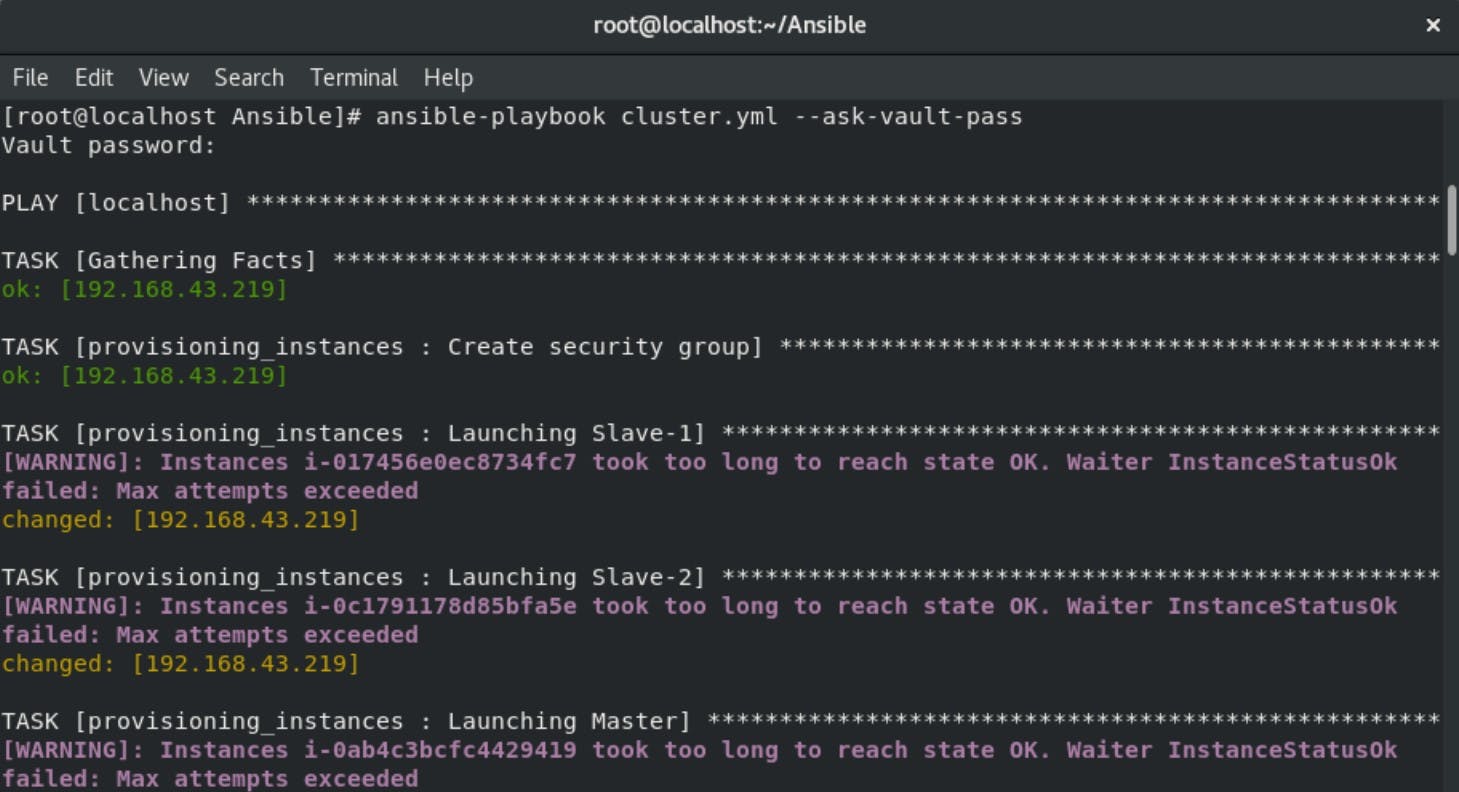
Now just run the ansible-playbook cluster.yml --ask-vault-pass it will ask for the vault password in which your AWS credentials is stored and that's all!!

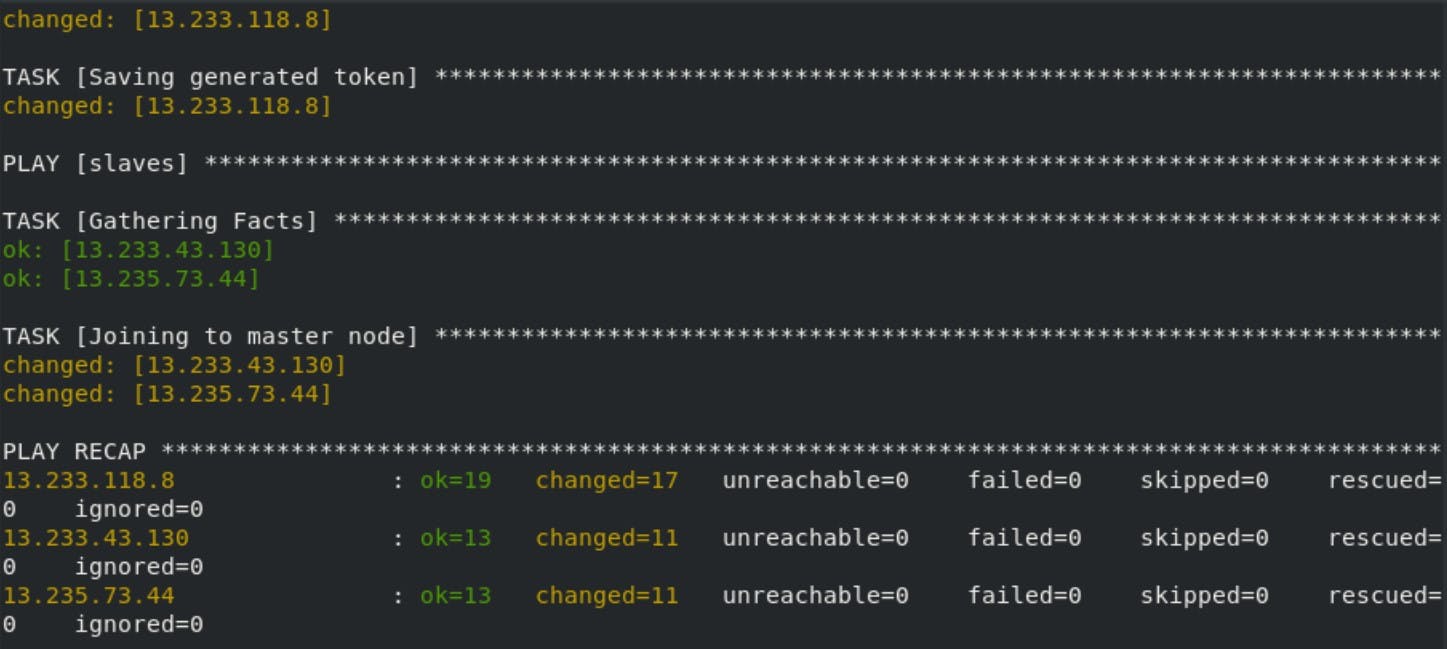
Finally our Kubernetes Multi-node Cluster is configured on AWS using Ansible. All thanks to Mr Vimal Daga sir for providing such knowledge.
Github repo:- github.com/Sahil-107/k8s-multi-node-cluster