Logical Volume Management
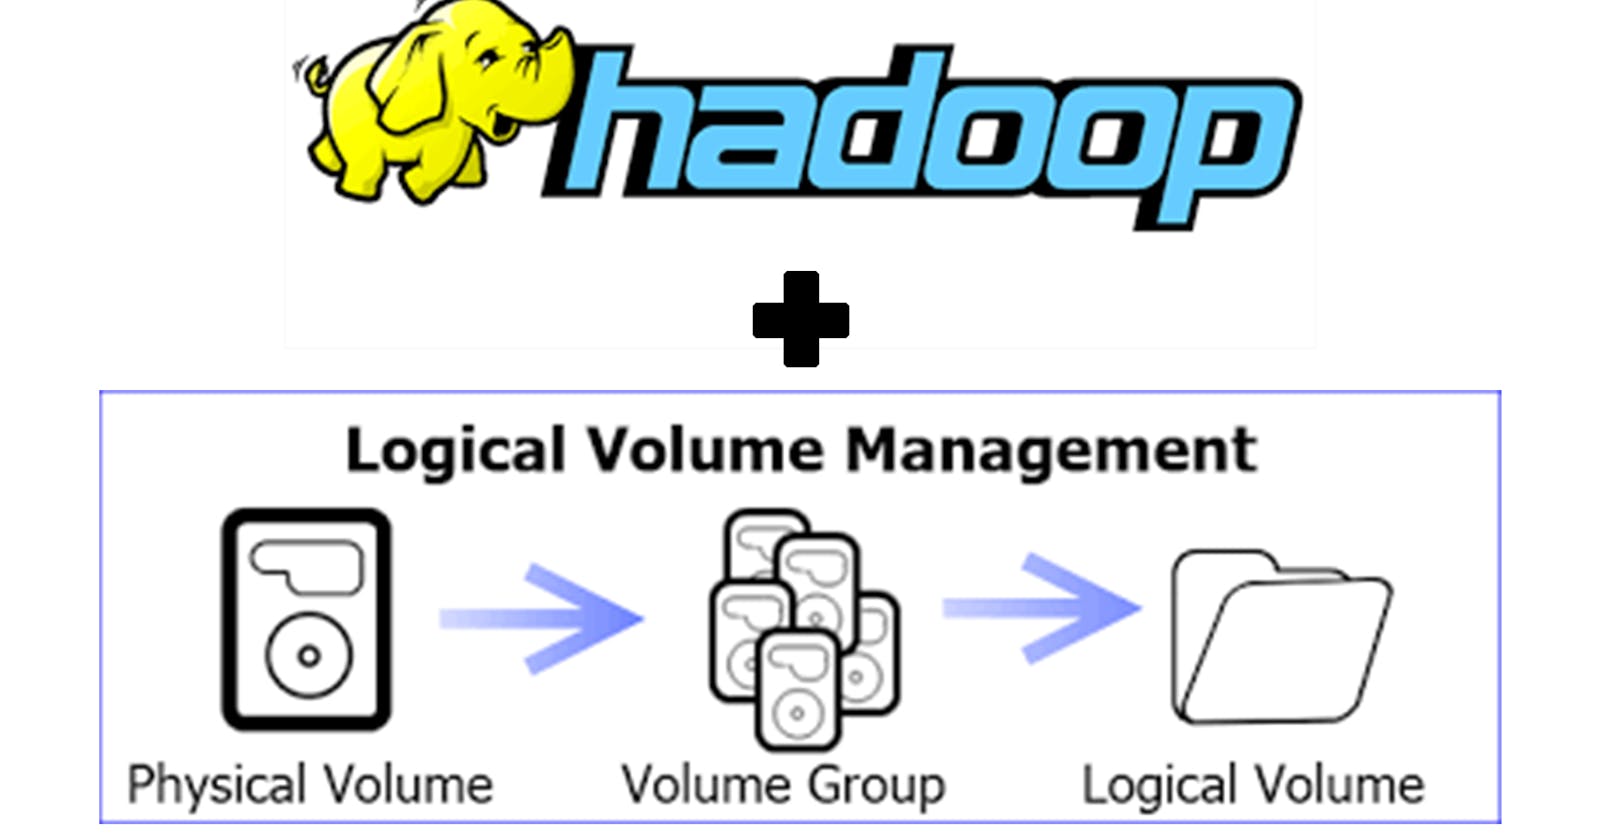
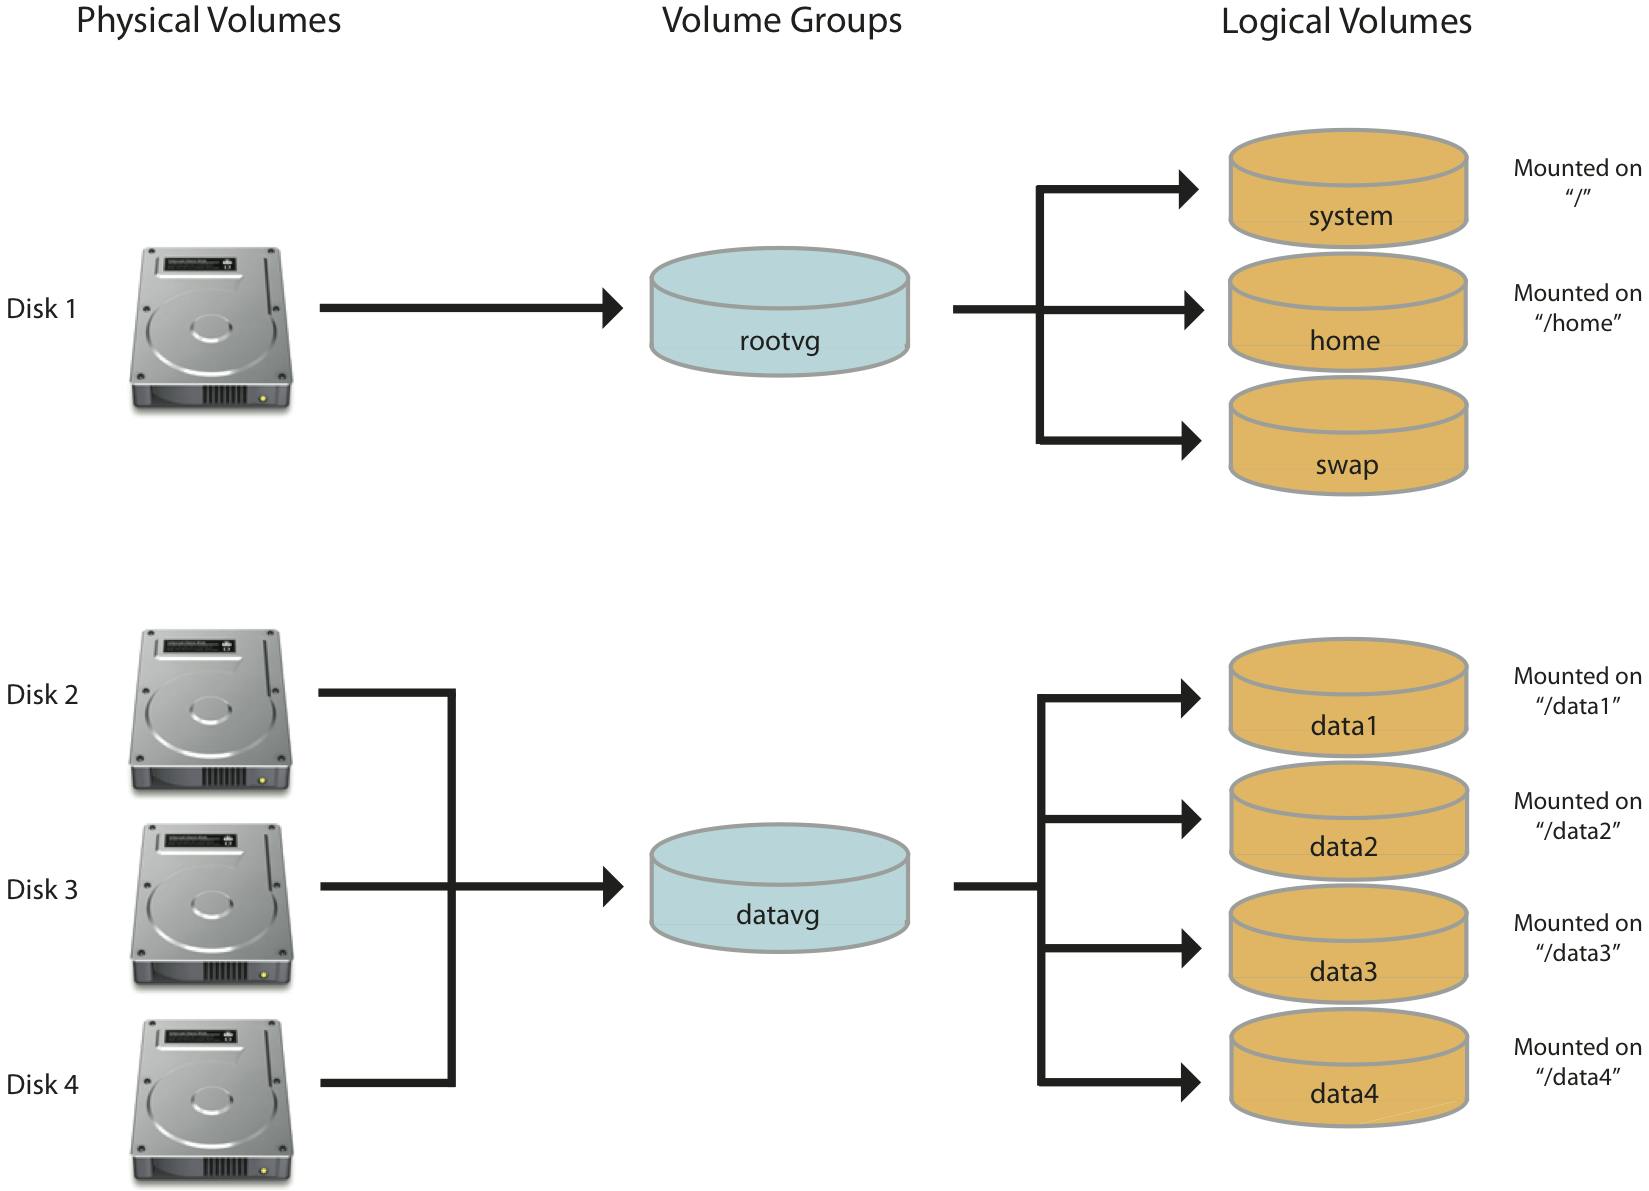
Logical volume management (LVM) is a form of storage virtualization that offers system administrators a more flexible approach to managing disk storage space than traditional partitioning. This type of virtualization tool is located within the device-driver stack on the operating system. It works by chunking the physical volumes (PVs) into physical extents (PEs). The PEs are mapped onto logical extents (LEs) which are then pooled into volume groups (VGs). These groups are linked together into logical volumes (LVs) that act as virtual disk partitions and that can be managed as such by using LVM.
The goal of LVM is to facilitate managing the sometimes conflicting storage needs of multiple end-users. Using the volume management approach, the administrator is not required to allocate all disk storage space at initial setup. Some can be held in reserve for later allocation. The administrator can use LVM to segment logically sequential data or combine partitions, increasing throughput and making it simpler to resize and move storage volumes as needed. Storage volumes may be defined for various user groups within the enterprise, and new storage can be added to a particular group when desired without requiring user files to be redistributed to make the most efficient use of space.
Using LVM in AWS with Hadoop cluster
So first we create an EBS (Elastic Block Storage) of 5GB and attach it to the AWS instance, by using
fdisk -l
we can see all the partitions in the instance.
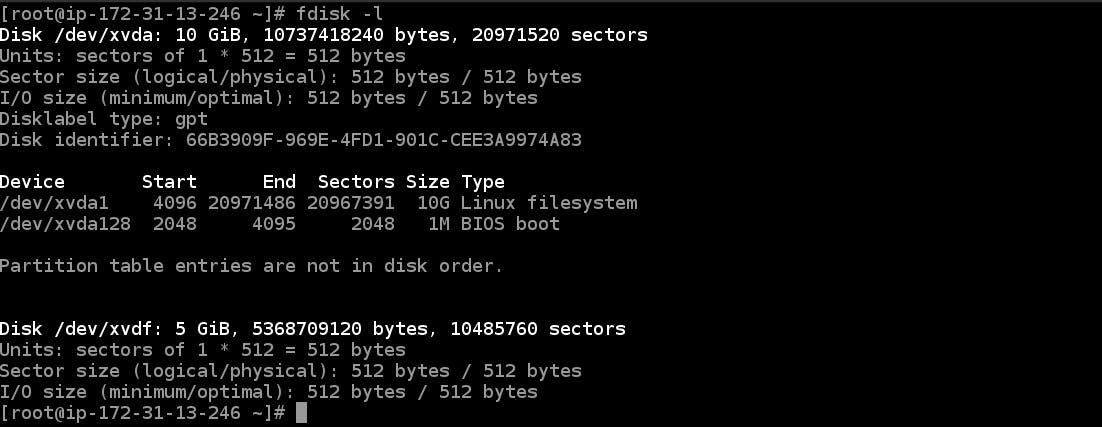 In the above photo, we can see 5GB storage is connected in /dev/xvdf in the instance.
Creating Physical Volume
It is first necessary to create a new Physical Volume (PV) by using pvcreate command with the device name /dev/xvdf. Physical block devices or other disk-like devices are used by LVM as the raw building material for higher levels of abstraction. Physical volumes are regular storage devices. LVM writes a header to the device to allocate it for management. If you are going to use the entire hard drive, creating a partition first does not offer any particular advantages and uses disk space for metadata that could otherwise be used as part of the PV.
pvcreate /dev/xvdf

Creating Volume Group
After creating the physical volumes we create a volume group, we can add multiple physical volumes in a volume group. Volume groups abstract the characteristics of the underlying devices and function as a unified logical device with a combined storage capacity of the component physical volumes.
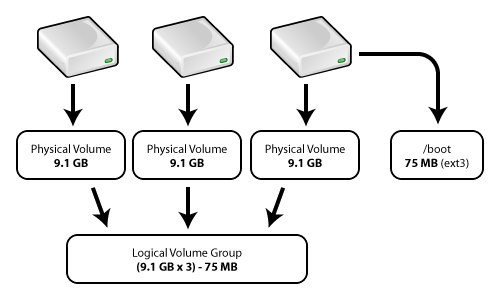
To create a Volume Group we use vgcreate command with a name which we want to give and name of the PVs.
vgcreate task7 /dev/xvdf

Here task7 is the name I have given to the VG.
Creating Logical Volume
Now after creating VG we create Logical volume from a VG. A volume group can be sliced up into any number of logical volumes. Logical volumes are functionally equivalent to partitions on a physical disk, but with much more flexibility. Logical volumes are the primary component that users and applications will interact with.
To create LV from VG we use lvcreate command with size, name and VG name.
lvcreate --size 4G --name task70 task7

Here i have created a 4GB Logical Volume with the name task70.
Formatting the storage Now we format the partition so that we can mount it and use it. To format the storage use the below command.
mkfs.ext4 /dev/task7/task70
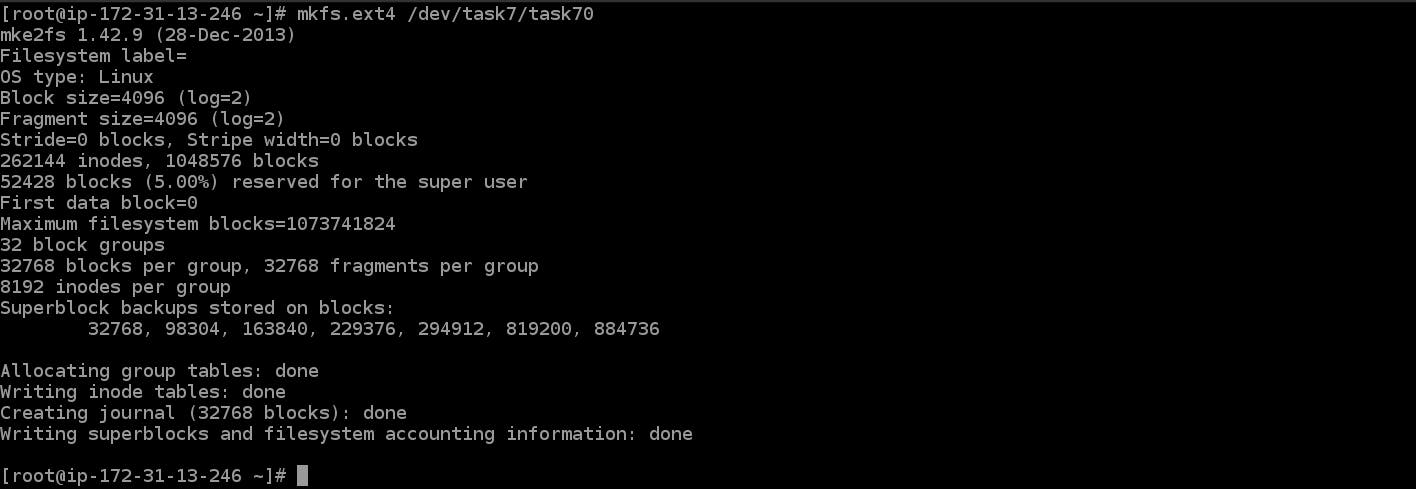
Mounting the partition Now we mount the newly created partition to the folder which we want to give to the Hadoop cluster and start the Hadoop services.

Now in the WebUI of the Hadoop cluster, you can see the allocated storage by my datanode:

Increasing the Storage on the fly
Now we assume a situation that there is no storage is left in our datanode and we want to increase its storage to continue our work without deleting the previous data in the data node.
So again we create an EBS of 5GB and attach it to our slave instance.
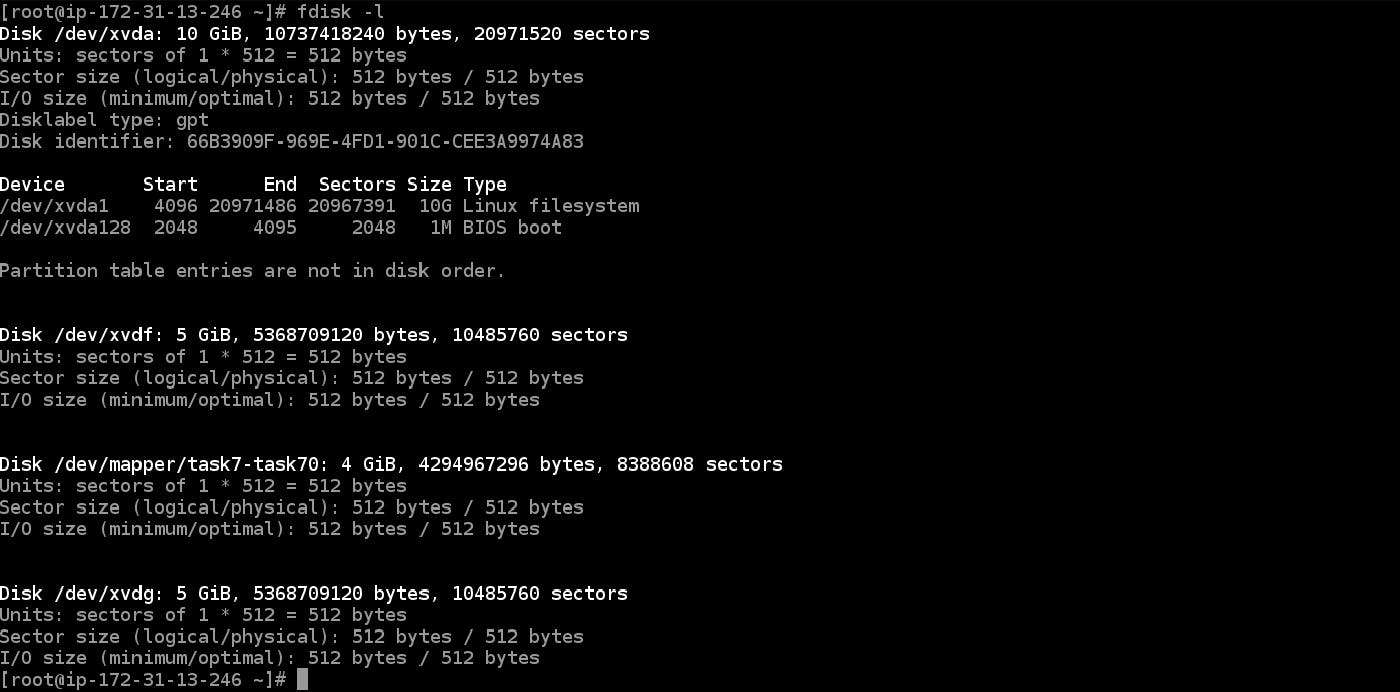
In the above photo, you can see, a device of 5GB storage is connected to the instance with the name /dev/xvdg.
Now again first we create a PV
pvcreate /dev/xvdg
And after creating the PV we add this PV into the Volume Group which we named task7. To do this we use the vgextend command.
vgextend task7 /dev/xvdg

Now our volume group is extended, but we also need to extend our Logical Volume
To extend the LV we use lvextend with size and name of the logical volume.
lvextend --size +5G /dev/task7/task70
 Here /dev/task7/task70 is the Logical Volume we have created above.
Now our LV size is increased but we cannot use this portion to store the data because that part is not formatted, but if we format the partition completely it will wipe out the complete data. So we use the resize2fs command.
rezise2fs /dev/task7/task70

This will format the partition and also our data is safe in the same partition.

Now you can see in the above photo of the Hadoop WebUI our Hadoop Datanode storage is increased to almost 9GB on the fly.
Conclusion
As you can see above we can distribute the amount of storage of Datanode to the Hadoop Cluster dynamically and extend it on the fly whenever we want with the help of Logical Volume Management.
